Over the centuries, the Sassanian Empire’s eastern front experienced frequent incursions from a number of nomad peoples; Hephthalites, Kidarites, Chionites and Alchon Huns. Less frequent, the Alani crossed the Caucuses Mountains to raid the northern regions of the empire. After 363 the kingdom of Armenia is divided between Rome and Persia. Dissenting minds in Perse-Armenia are planning rebellion, however, seeking to test Sassanid readiness, the Alani are invited to do what they do best.
Returning
from one such raid, the Sassanian forces have intercepted the Alani, laden with
plunder, before reaching the northern gateway. Terrain is mountainous (Hilly)
and restricted to 2 x difficult hills, 1 x river, 1 x woods, 1 x BUA and a
road. Armies are double size and
primarily mounted, making this an interesting encounter.
Game one.
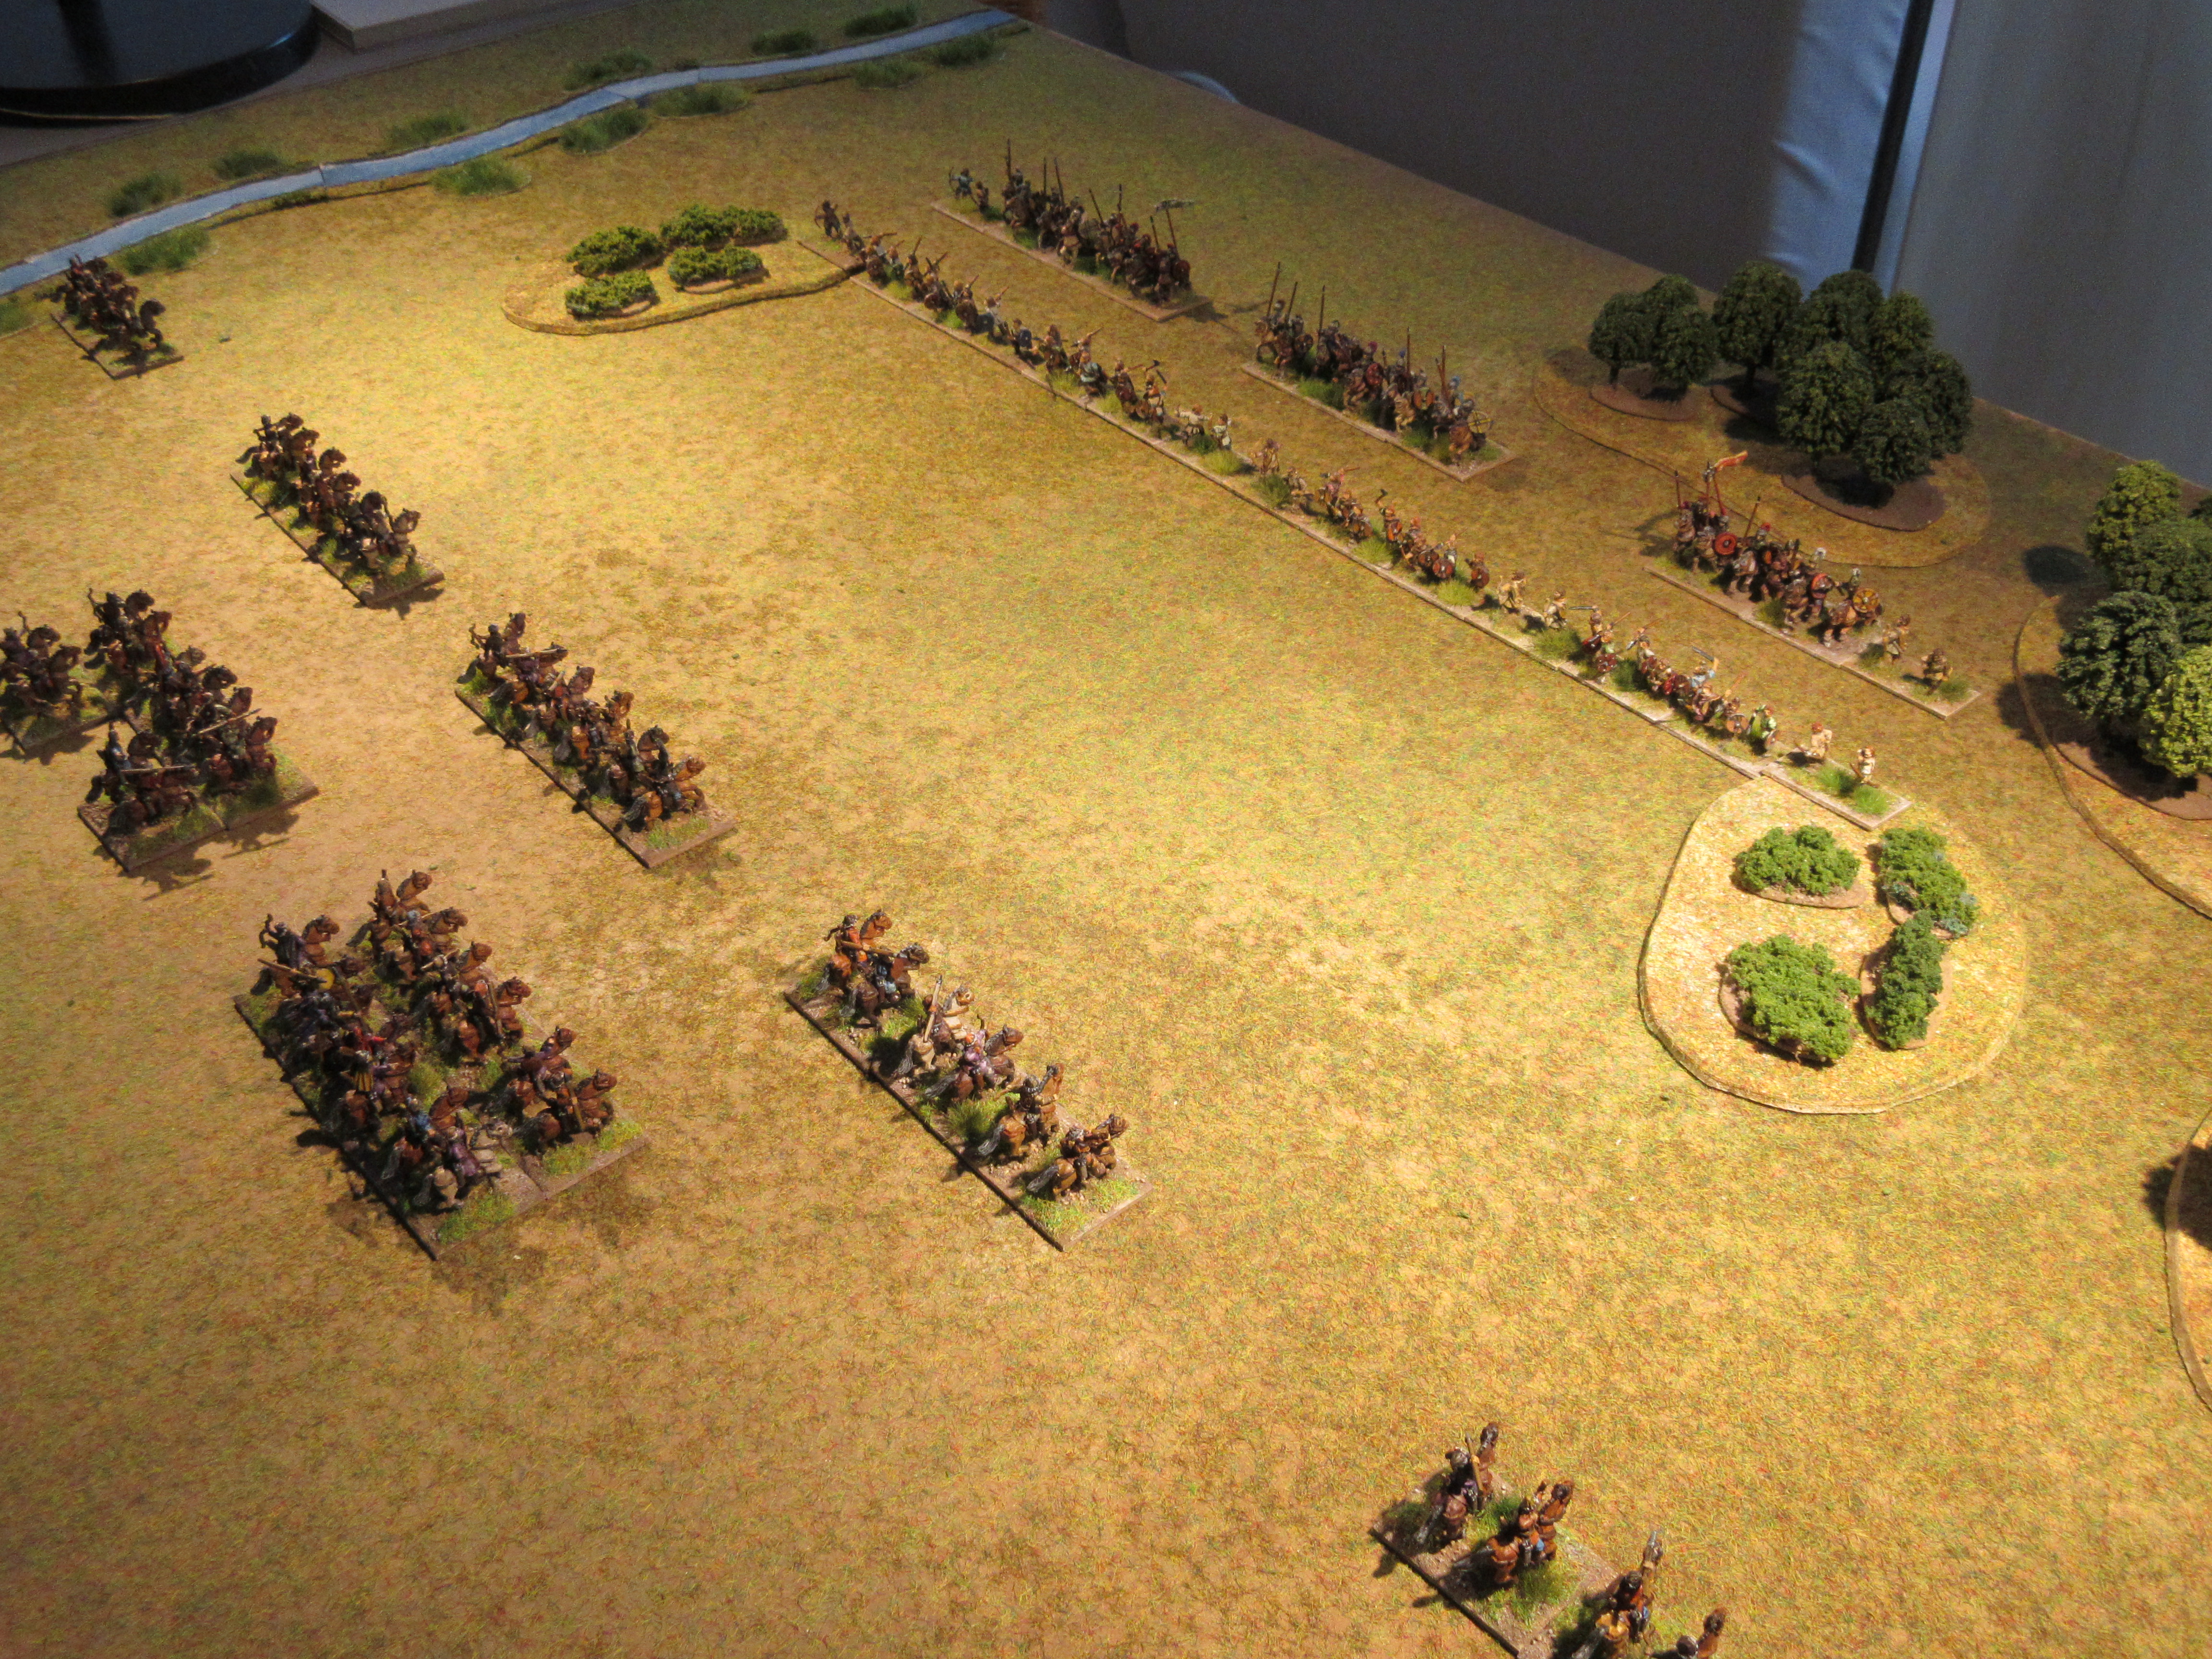
The valley
floor leaves little room forcing both sides to deploy in depth. The Sassanid
place their hope on the elephant corps and cataphract cavalry to be sufficient
to crush the Alani.

Like a thunderbolt, the elephant corps is launched at the Alani centre. As a counter, the Alani light horse move against the supporting asavaran and strike first.

This brings a temporary relief as the Sassanid attack is halted to deal with the Alani light horse.

Sensing the threat subsiding, the Sassanid continue their attack against the Alani centre with the asavaran cavalry making first contact followed by the elephant corps.

With the failure of the Alani attack against the Sassanid left and its centre in shambles, the Alani break after losing their general, 8+gen – 7.

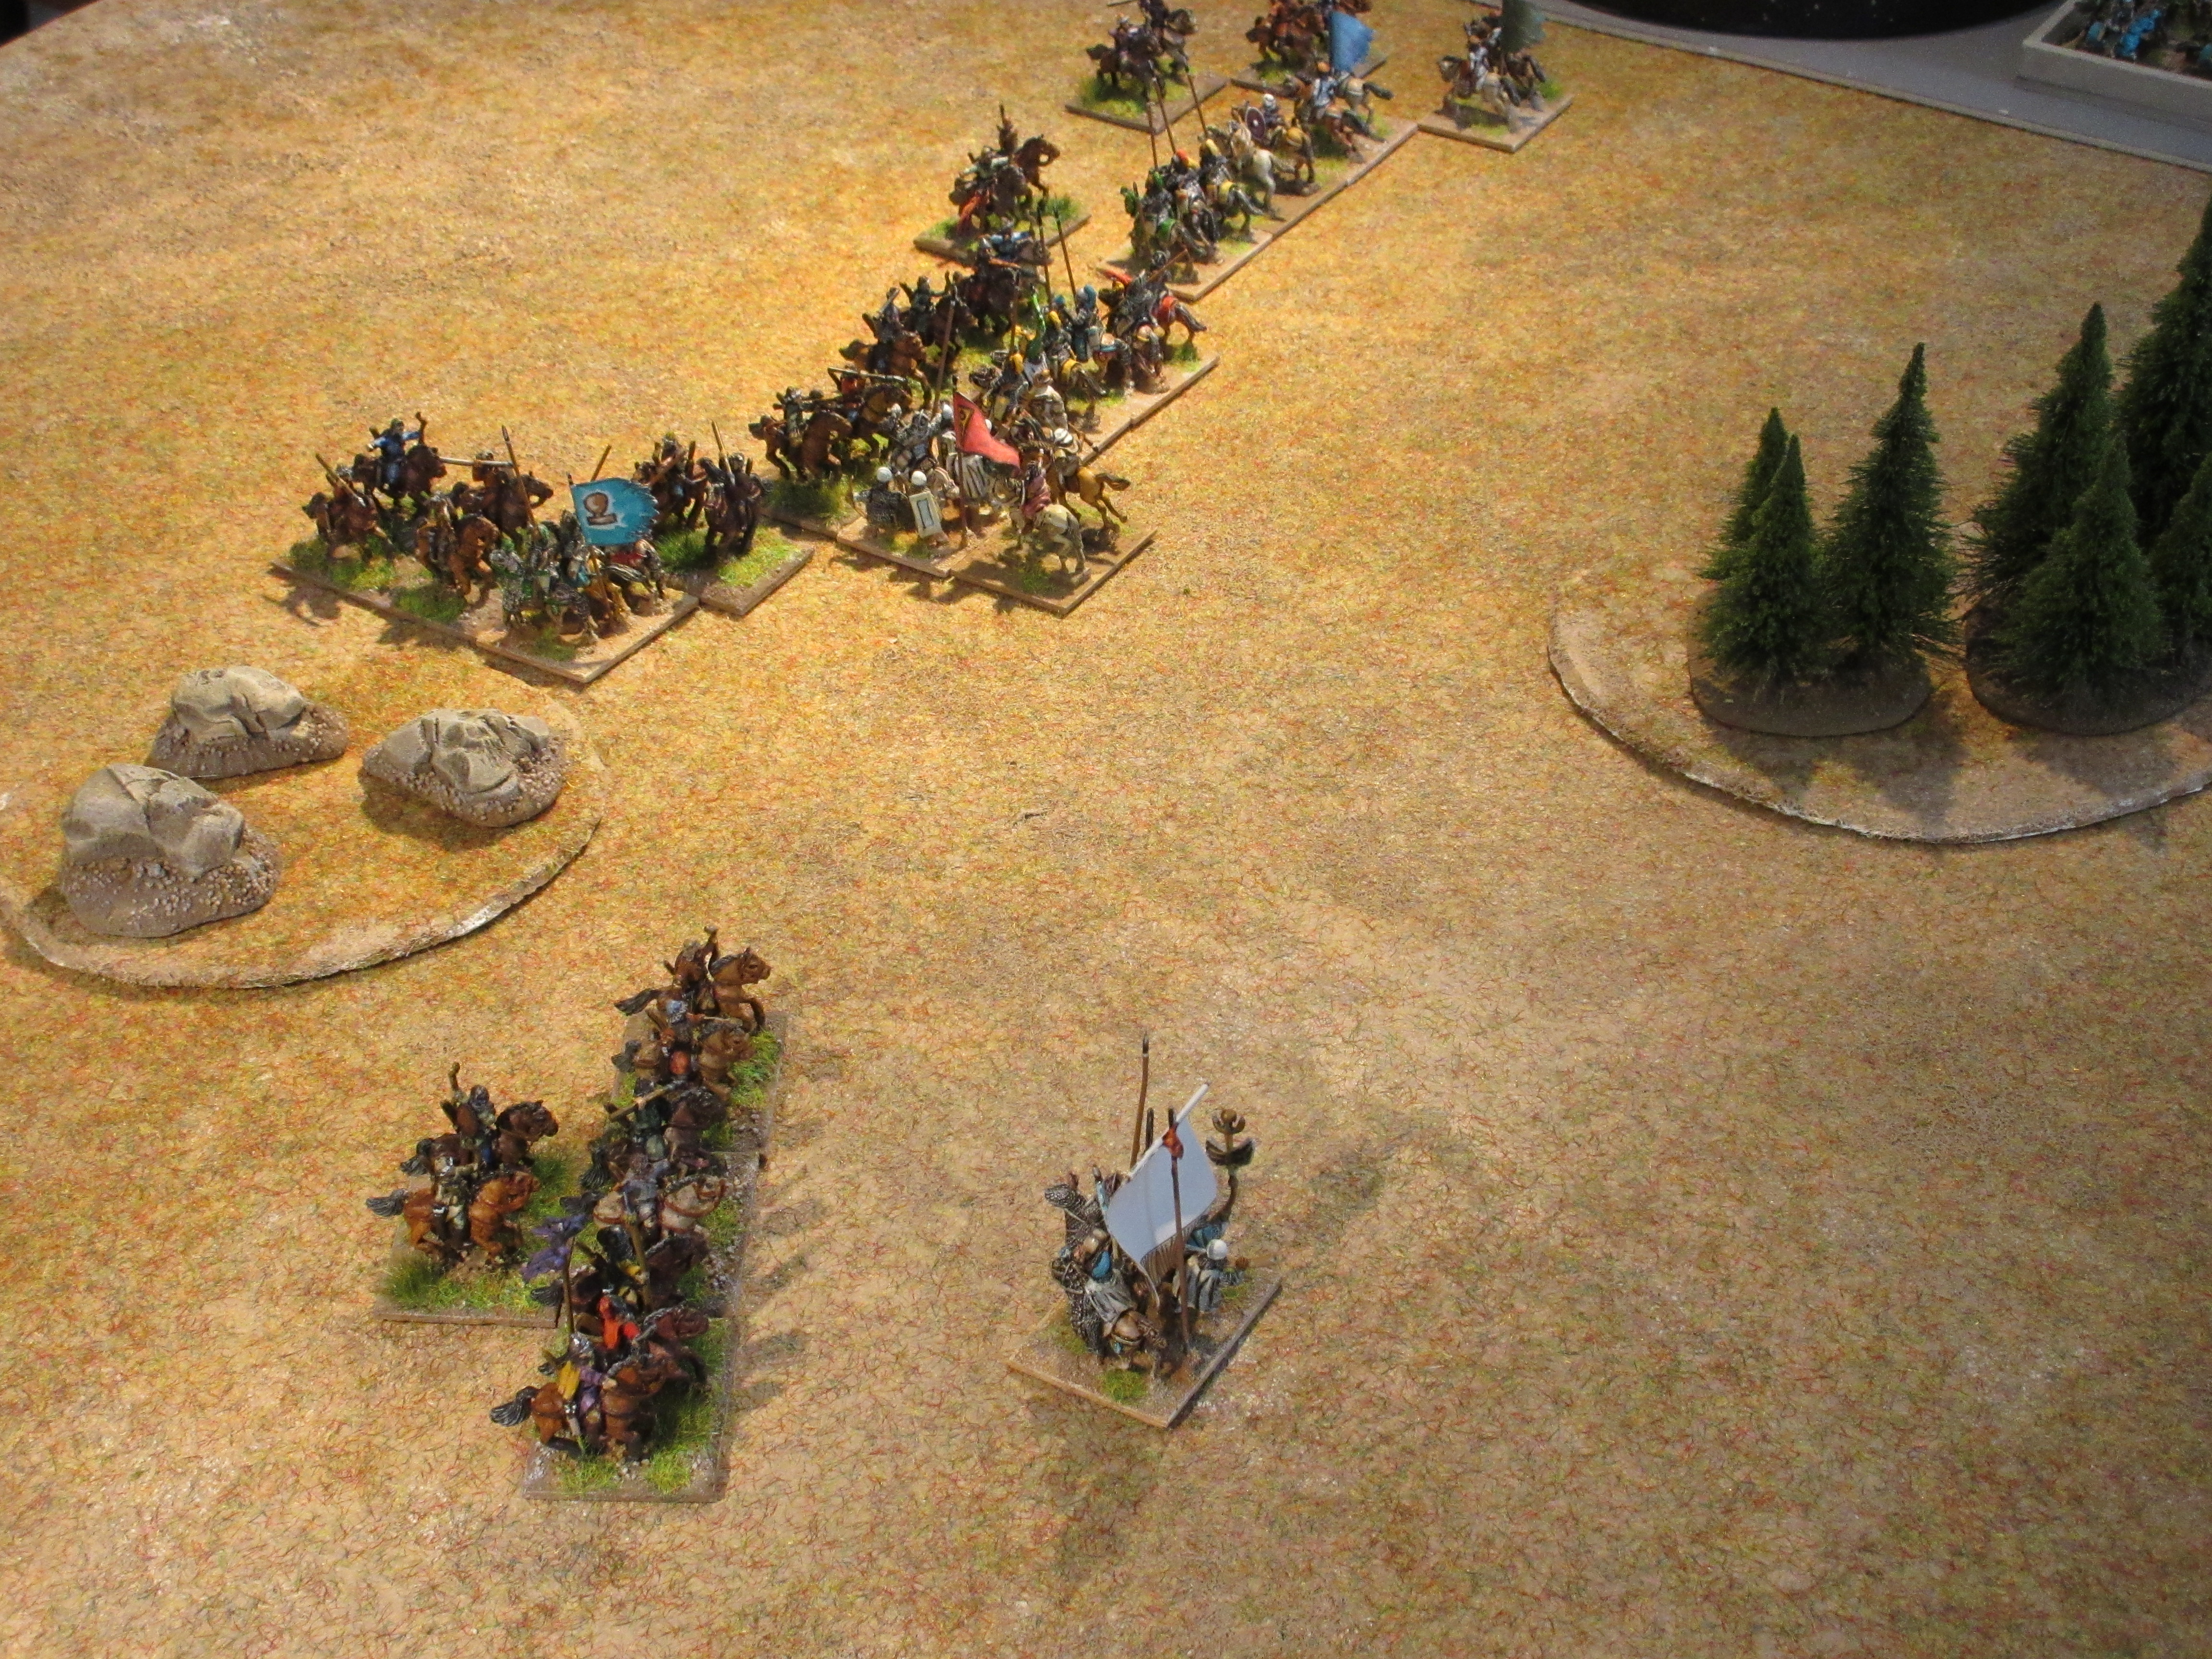
Game two.
Positions
reversed, the Sassanid have interspersed asavaran cavalry between the elephant
corps and cataphract cavalry. Useless levies are positioned to block encircling
moves by the Alani.
The Alani
have formed a light cavalry screen with heavy cavalry in a second line.

The Alani move forward to catch the Sassanid in the restricted space. Sensing that danger, the Sassanid advance their line to clash with the enemy.


Alani archers descend from the hills to aid the destruction of the Sassanid right. In centre, formations have dissolved in small combats, but the Sassanid have lost half their elephants.

The decisive blow was struck when the Alani warlord launched his group of nobles against the Sassanid left centre.

Seeing the dragon standard in the distance, the subordinate moves the remainder of the Alani to seal the victory over the Persian, 8 – 4.

Observations
A most
bizarre moment in game one developed near the battle’s end. Alani nobles
attacked and forced an element of elephants to back pedal, not once, but four
times.


No, the Alani general died in combat against the Sassanian leader, but if battle had lasted one turn more.
In game two, following the destruction of the elephant corps, the Alani held the initiative. Pip scores were not an issue, but Sassanid spent their pips recovering their position. The Alani nobles had less problems as they pursued any enemy recoiling.